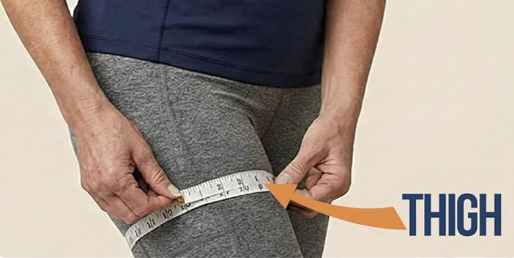
Find Your Perfect Fit

Getting the right size is the single most important step. Two measurements — low waist and thigh — two minutes, done.

Step-by-Step

How to Measure

You only need a soft measuring tape — the kind used for sewing. Take two measurements: low waist and upper thigh.

How to measure low waist for the ODOFIT Hip Brace How to measure upper thigh for the ODOFIT Hip Brace
1

Measure Your Low Waist

Place the tape around your low waist — about 3–4 inches below your natural waist, where the top of the brace will sit. Keep it level and snug, not tight.

2

Measure Your Upper Thigh

Wrap the tape around the widest part of your upper thigh. This ensures the lower strap fits comfortably without cutting in or sliding down.

3

Choose Your Size

Use your low waist measurement to select your size from the chart below. If you're between sizes, always size up — it's easy to tighten, impossible to stretch.

Hip Brace Size Chart

Size Low Waist Upper Thigh Best For
Regular (S/M) Most popular 32 – 40 inches Up to 26 inches Standard frame, most body types
Plus (L/XL) 40 – 48 inches Up to 29 inches Larger frame, plus-size fit
Between sizes? Choose the larger size. The three adjustable straps give you a wide range of compression — you can always tighten, but you cannot stretch.

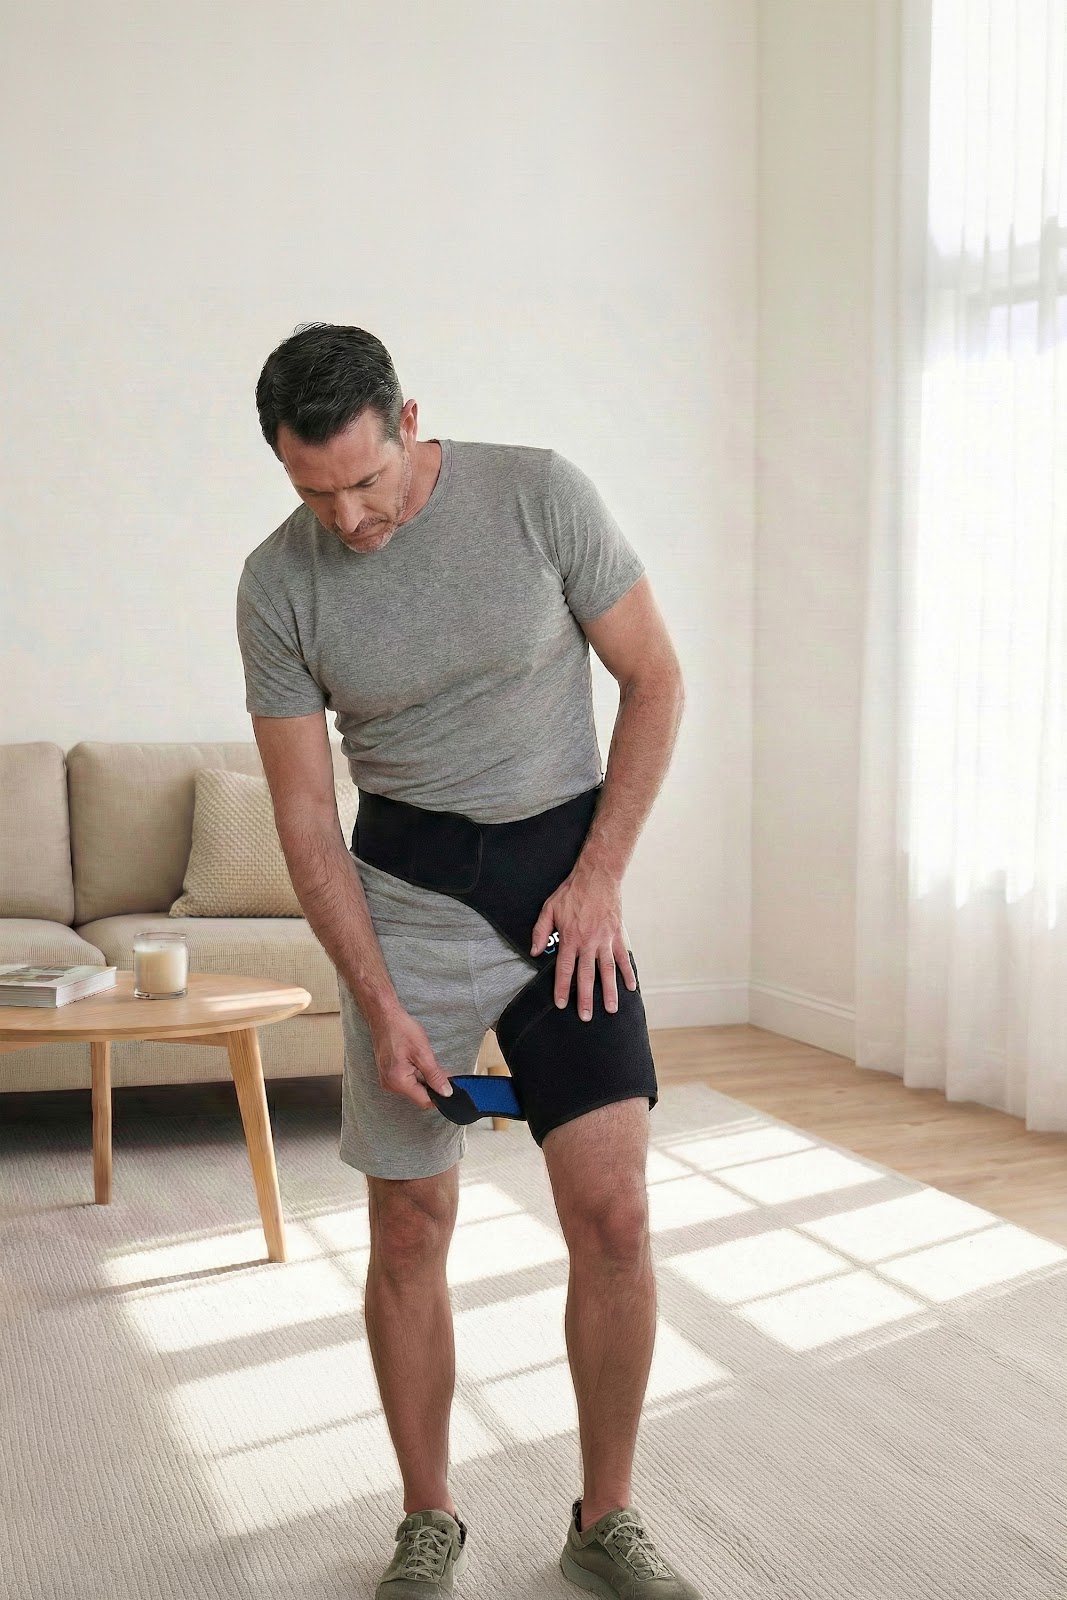
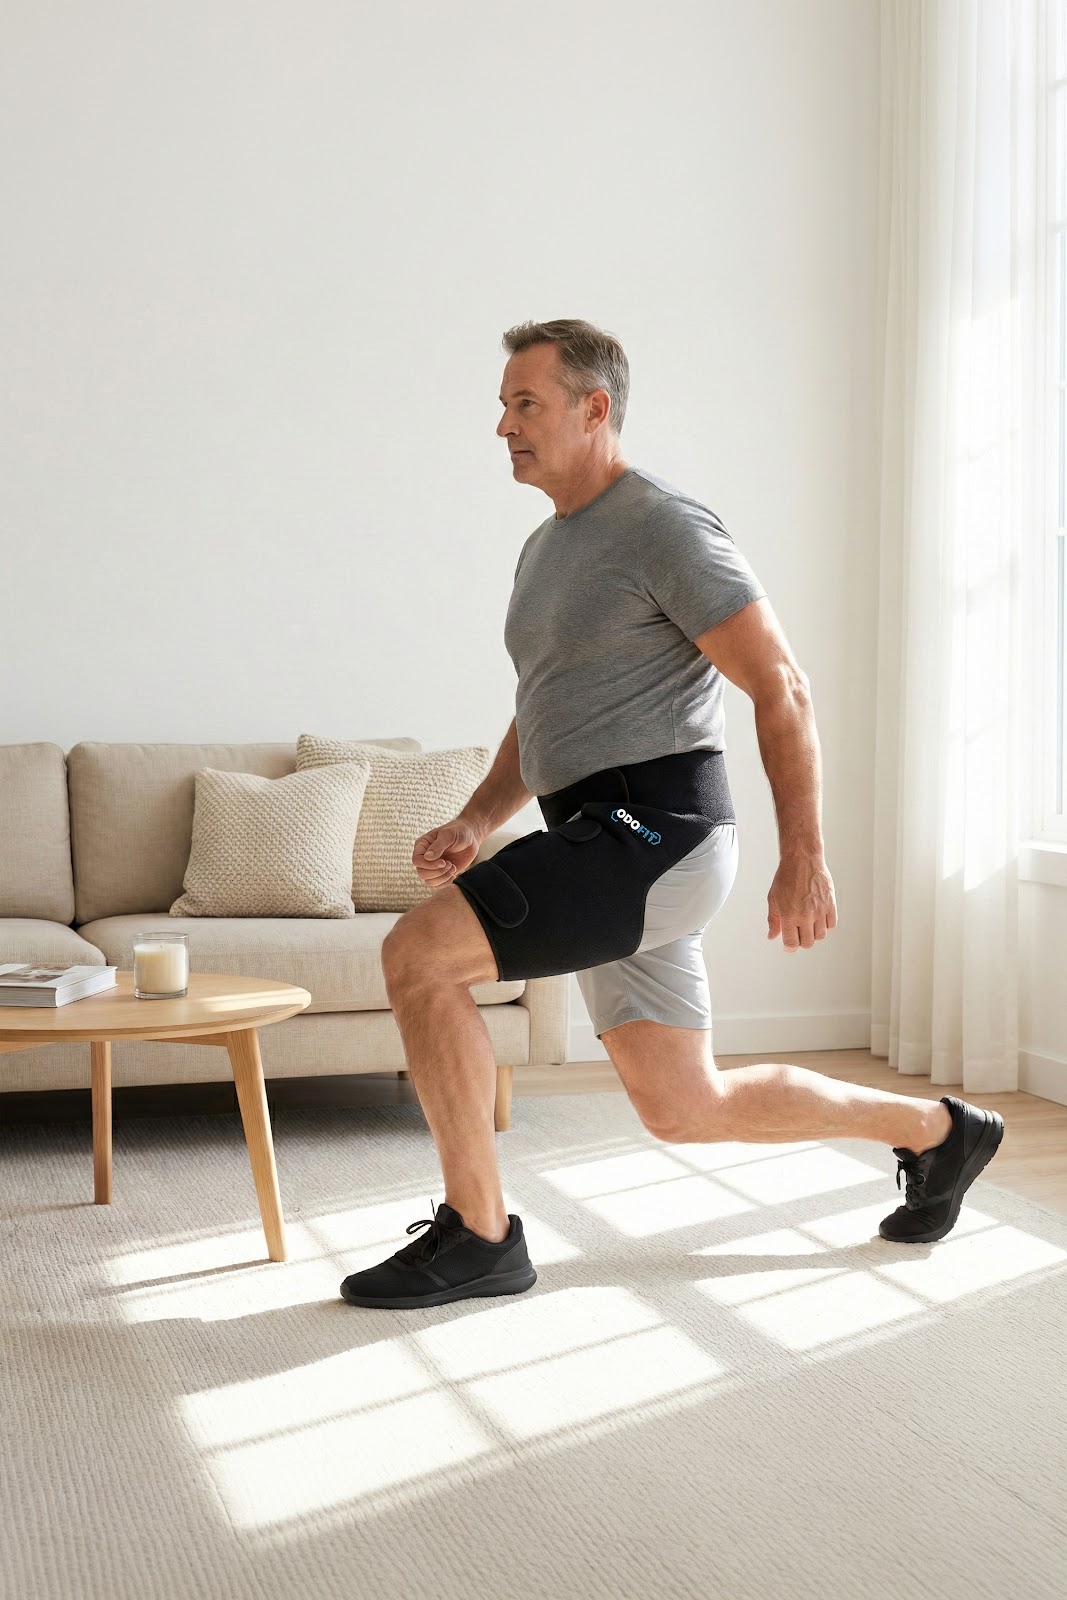
Which Leg Do You Need?

The brace is designed specifically for each leg side. Choose based on which side has your pain — the fit and strap alignment are optimised for that leg.

Left Leg Version

Choose Left if your sciatica, hip, groin, or thigh pain is on your left side. The seam and strap configuration is optimised for left-leg positioning.

Tip: most customers report pain on one dominant side. If both sides hurt, pick the more painful one and order that version.

Right Leg Version

Choose Right if your pain is on your right side. The brace wraps cleanly around the right hip and thigh for maximum support and comfort.

Not sure which side? Choose the leg where you feel pain most often, or where you need the most stability during daily activity.

Wearing It

How to Put On the Brace

Step 1 – position and secure waist
1

Position & Secure Waist

Step into the brace and pull it up so the top sits at your low waist. Fasten the waist strap first, centering the brace on the affected hip.

Step 2 – fasten thigh straps
2

Fasten Thigh Straps

Wrap the middle and lower straps around your thigh. Fasten snugly — firm enough to stay put, never cutting in. Smooth out any bunching.

Step 3 – move and adjust for comfort
3

Move & Adjust for Comfort

Take a few steps, sit down, and stand again. Fine-tune each strap until it feels stable and comfortable. You're ready to go.

Pro tip: Adjust the brace while standing. What feels right sitting may need a small tweak once you're moving — give yourself a minute to walk around and settle the fit.

Watch How to Wear It

Step-by-step videos showing exactly how to put on, adjust, and get the most from your ODOFIT hip brace.

2:14

How to Put On the ODOFIT Hip Brace (Step by Step)

The quickest way to get it on correctly the first time.

5:32

Wearing for Sciatica & Hip Pain — Positioning Tips

How to position the brace for maximum sciatic nerve relief.

4:47

Adjusting the Straps for All-Day Comfort

Fine-tuning compression for walking, sitting, and standing.

Ready to Order?

You have your measurement. Choose your size below and get free Prime shipping.

Shop on Amazon